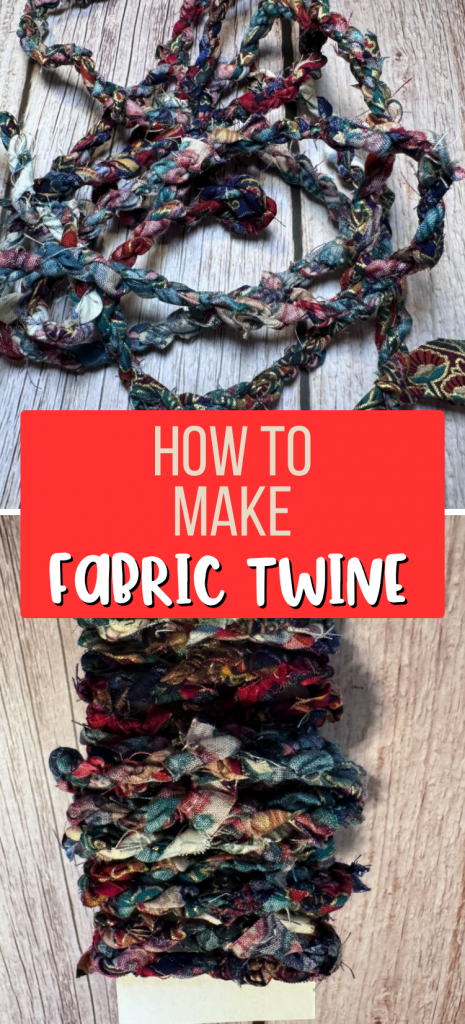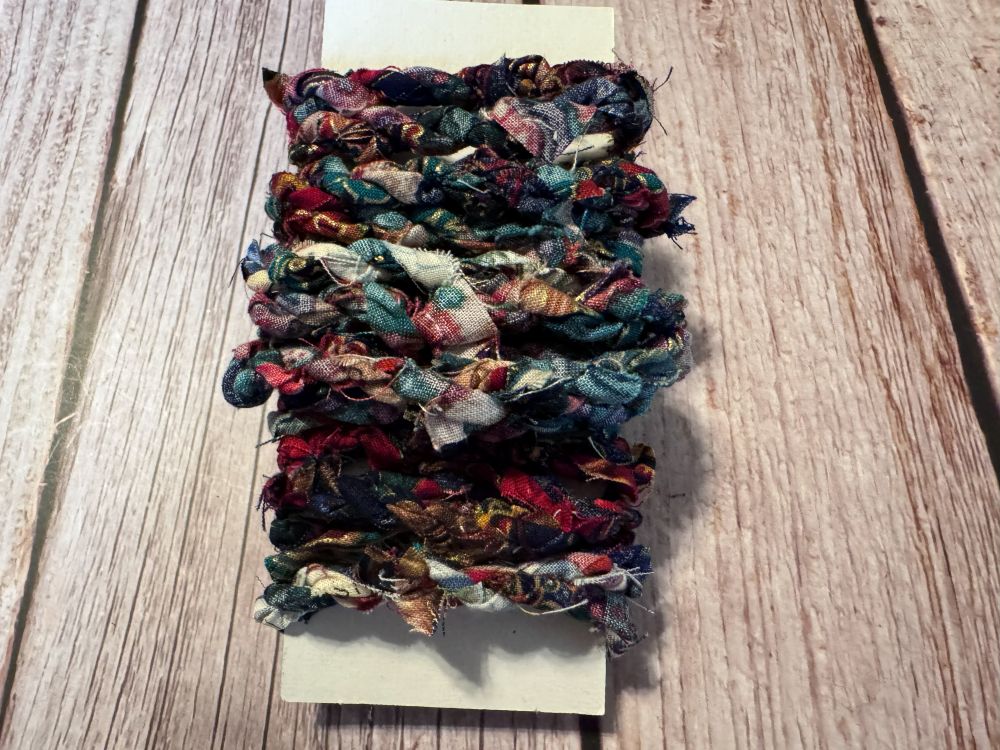
I’ve wanted to make DIY fabric twine for a long time and now that I’ve finally tried it I wonder why I waited so long. It’s a great way to use fabric scraps that are strips, and easy enough you can do it while watching TV or carrying on conversations. Let’s learn how to make fabric scrap twine.
Preparing Your Fabric
If you already have strips of fabric left over from other projects, you don’t really need to do any prep work to make DIY fabric twine.
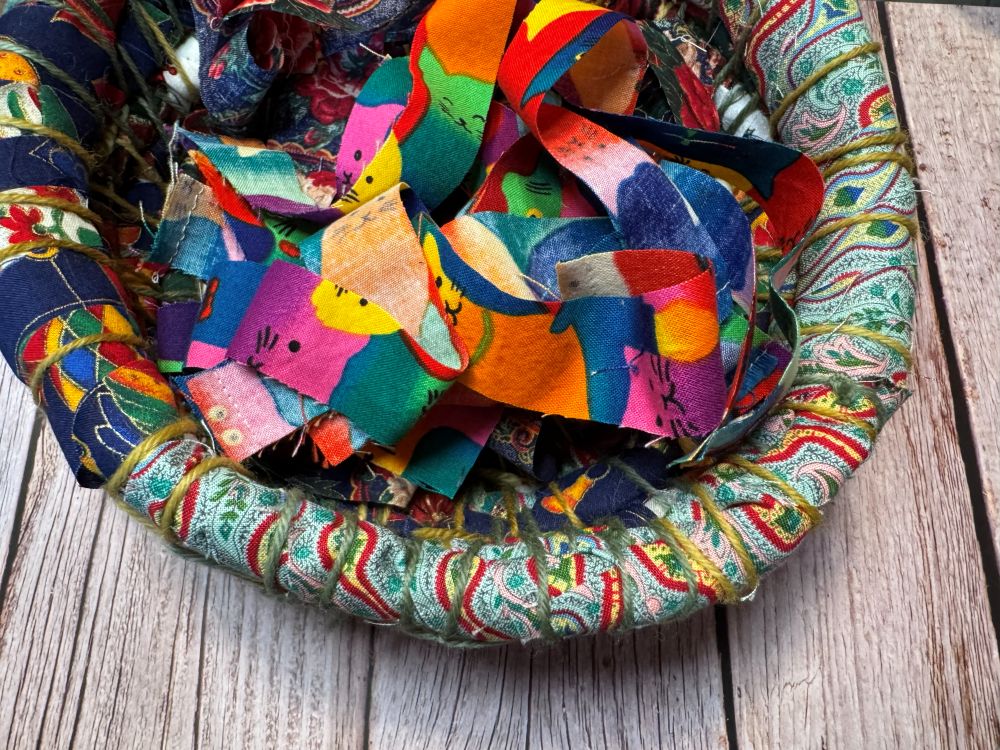
I have a ton of two-inch (5 cm) wide fabric scraps from a long-ago group project, and for some of my twine I actually sewed some of these pieces together and then cut the long strip in half down the middle to make my fabric strips for the twine.
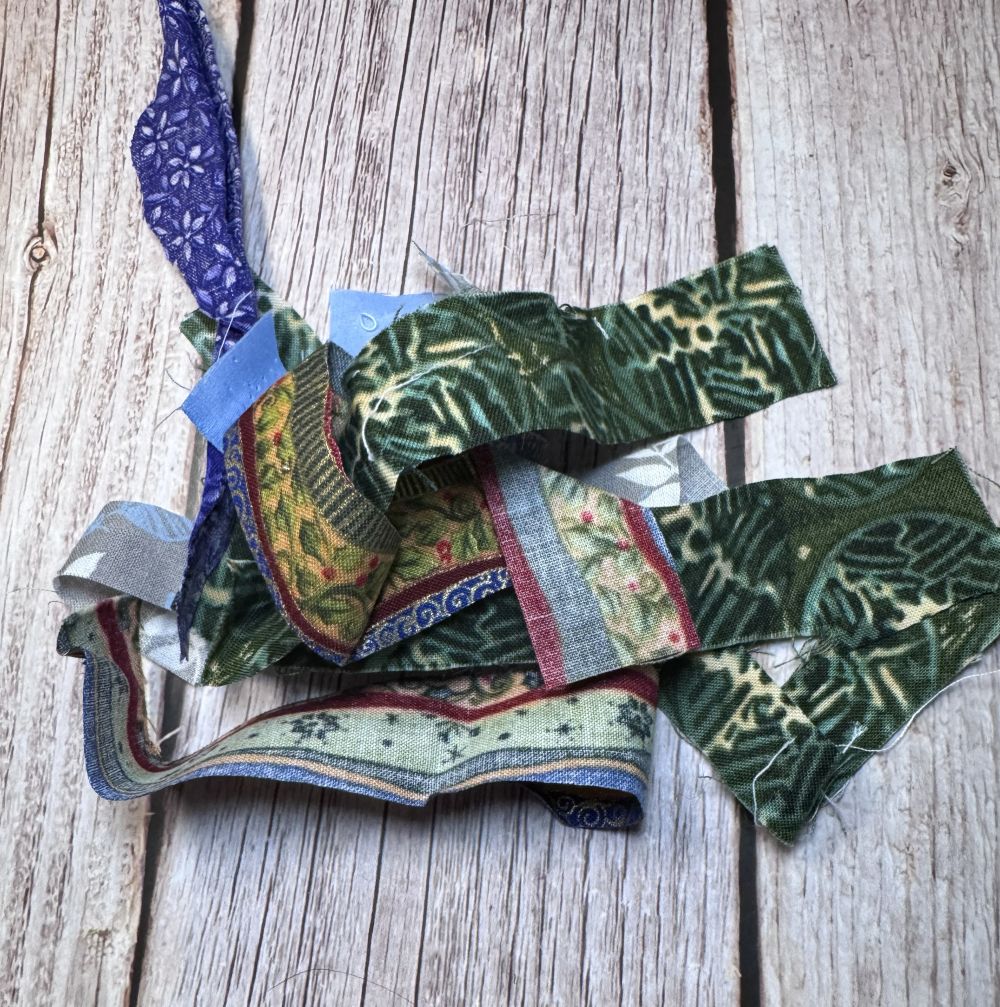
It doesn’t have to be exact but strips that are about an inch (2.5 cm) wide are ideal. A little wider or a little narrower is fine, too, and of course they don’t have to be consistent.
Fabric is all you need for this project unless you need to cut strips, in which case you’ll also need scissors. You can also make fabric into one long strip if you want to make a lot of fabric twine.
Starting Your DIY Fabric Twine
Begin with two pieces of fabric, ideally ones that are not the same length. Mine here ended up being a little close, which is fine, but it’s easier when getting started to not be adding new fabric on both pieces at the same time.
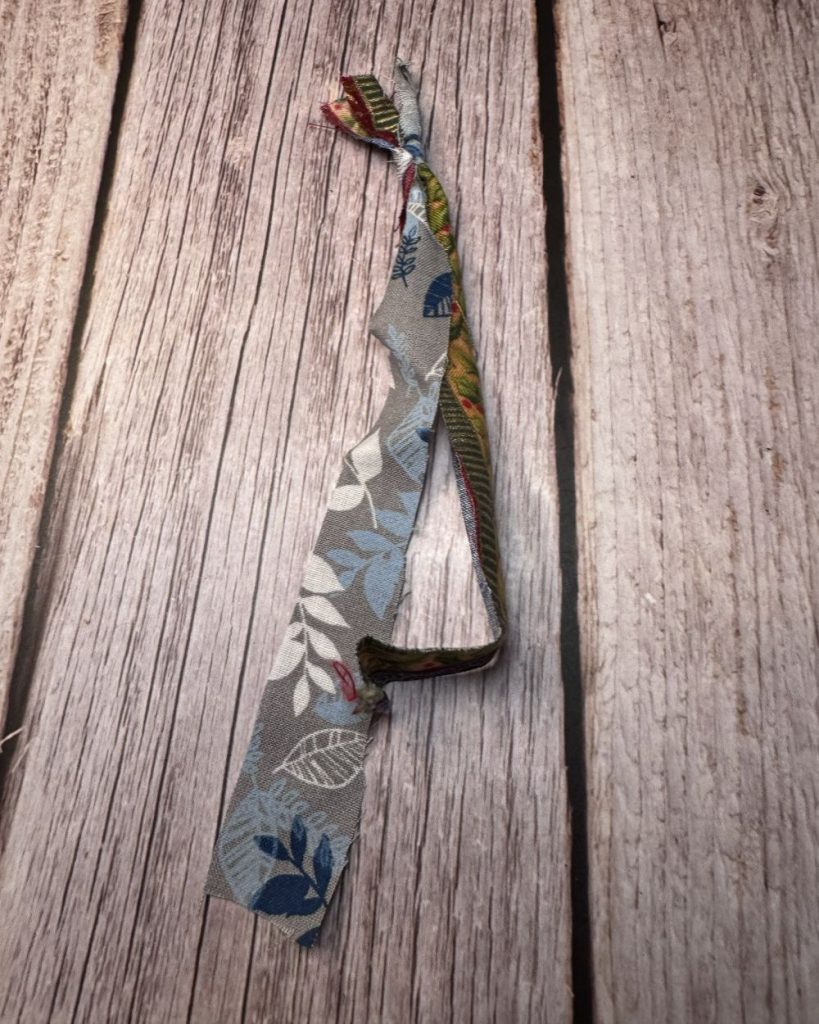
Tie the pieces of fabric together at one end using a regular knot.
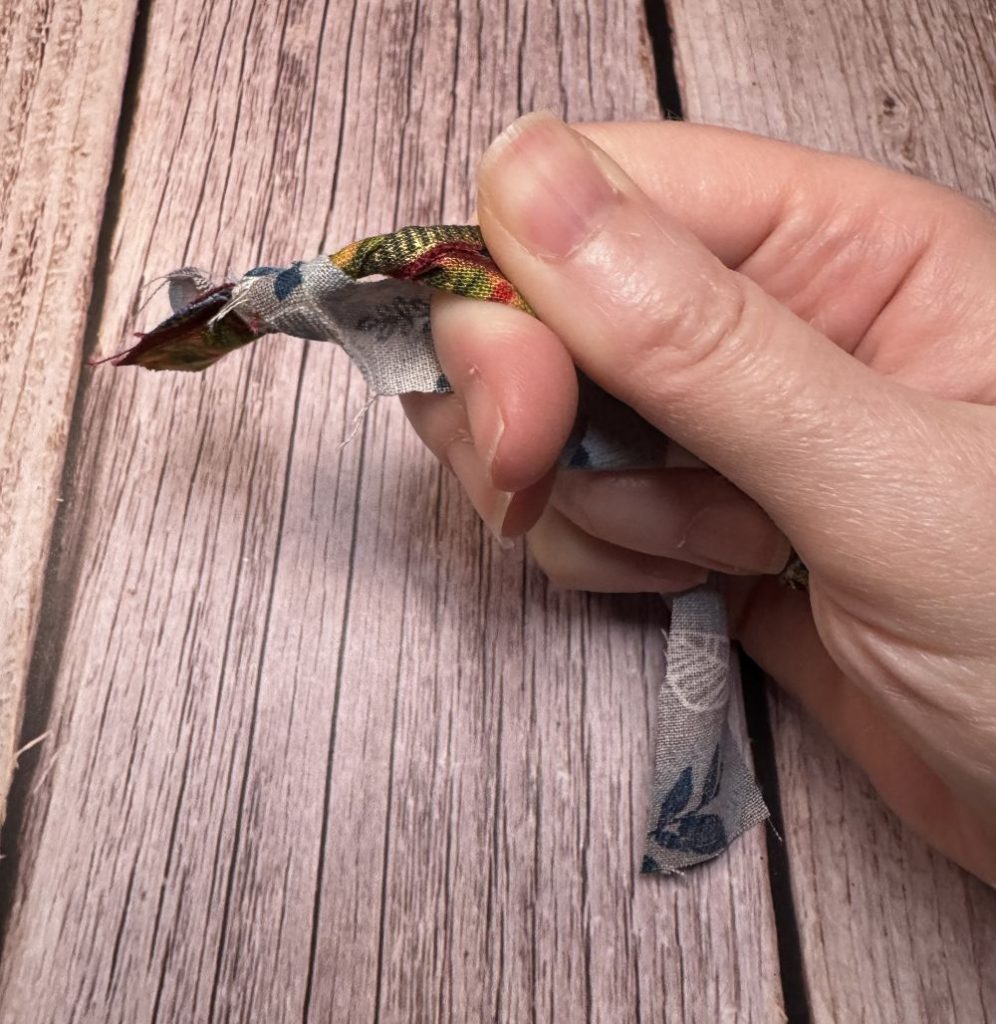
Take one piece of fabric to the back and twist it away from your body three or four times. I like to do three.
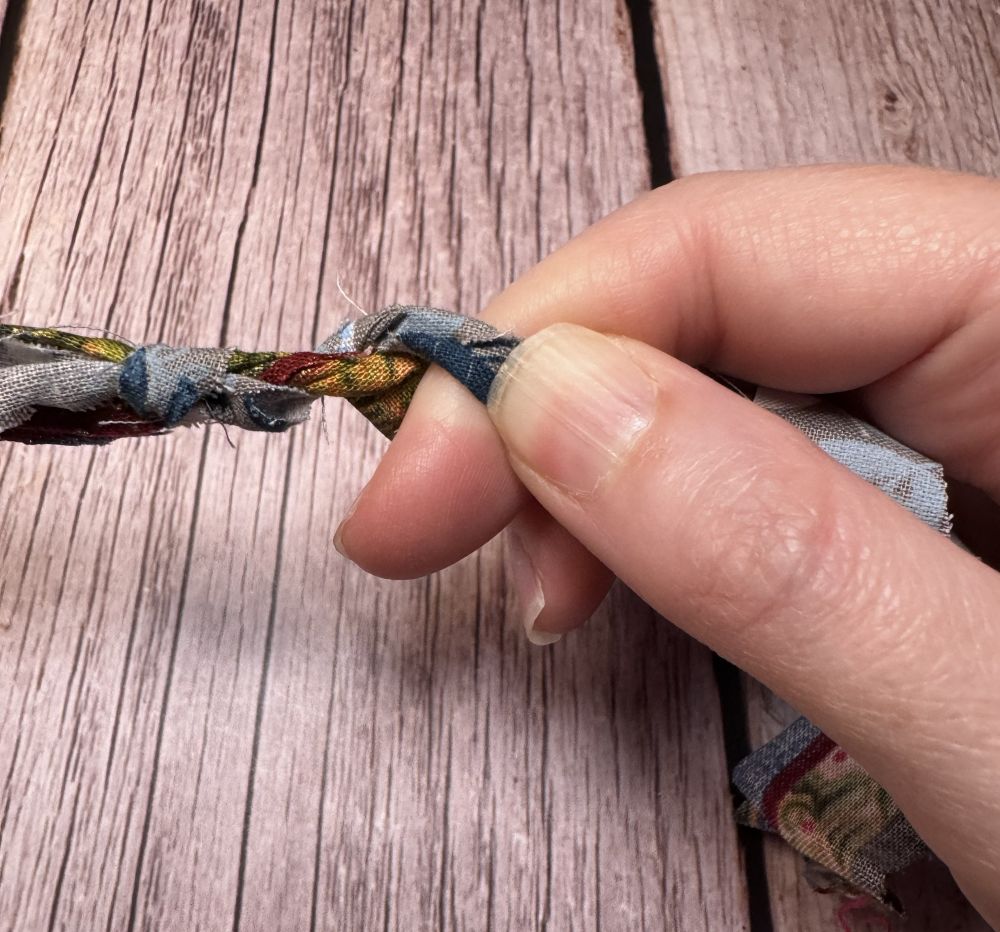
Bring that piece forward, above the other piece and twist the other piece three or four times away from you.
Bring that one to the front above the other piece and continue in this manner.
It feels like you need to hold on tight but this combination of turns and wraps makes really strong twine that doesn’t easily unravel.
Adding New Fabric
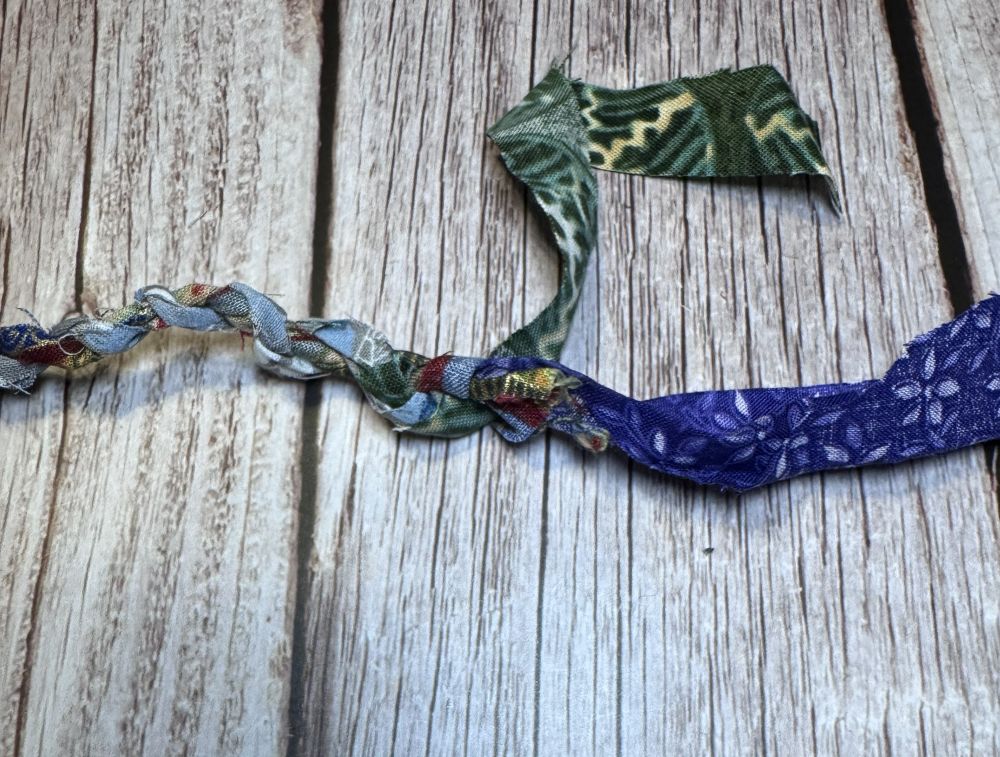
When you have an inch (2.5 cm) or so of fabric left in your strip, add in the next strip by placing it on top of the old strip and twisting as before.
I usually add an extra twist here just to make sure the fabric is secure.
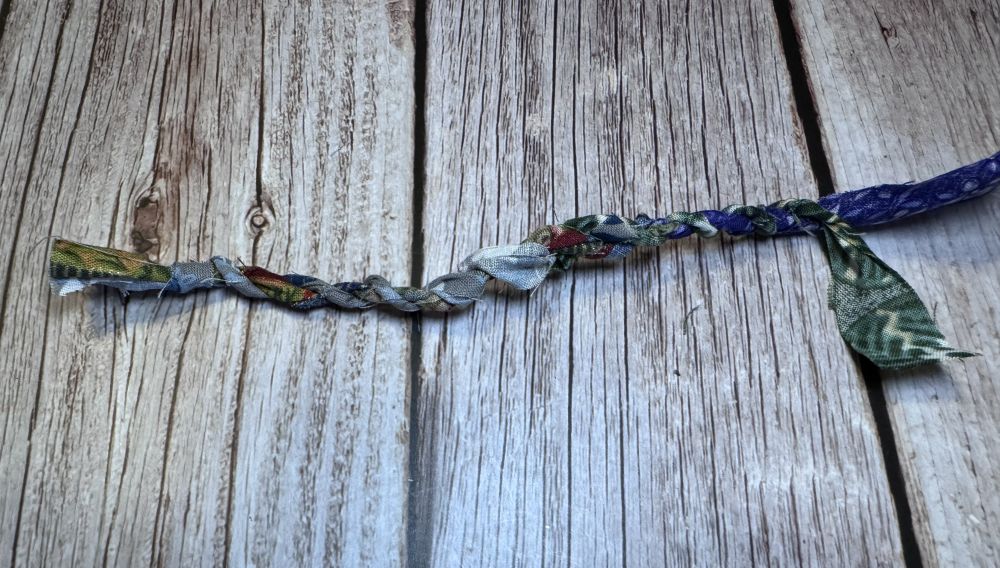
As I mentioned above I ended up needing new fabric on both strips around the same time, which left a looser spot in my DIY fabric twine that you can see here. I don’t mind it but if this happens to you and it bothers you, unwrap back to that spot and try again.
It’s always a good idea to go a few wraps beyond a fabric change and give your twine a tug to make sure the new fabric is firmly integrated.
Keep going as long as you want. If you need to stop, you can just leave it and it won’t unravel, or put a clip on the end to secure it if someone in your household might play with it otherwise.
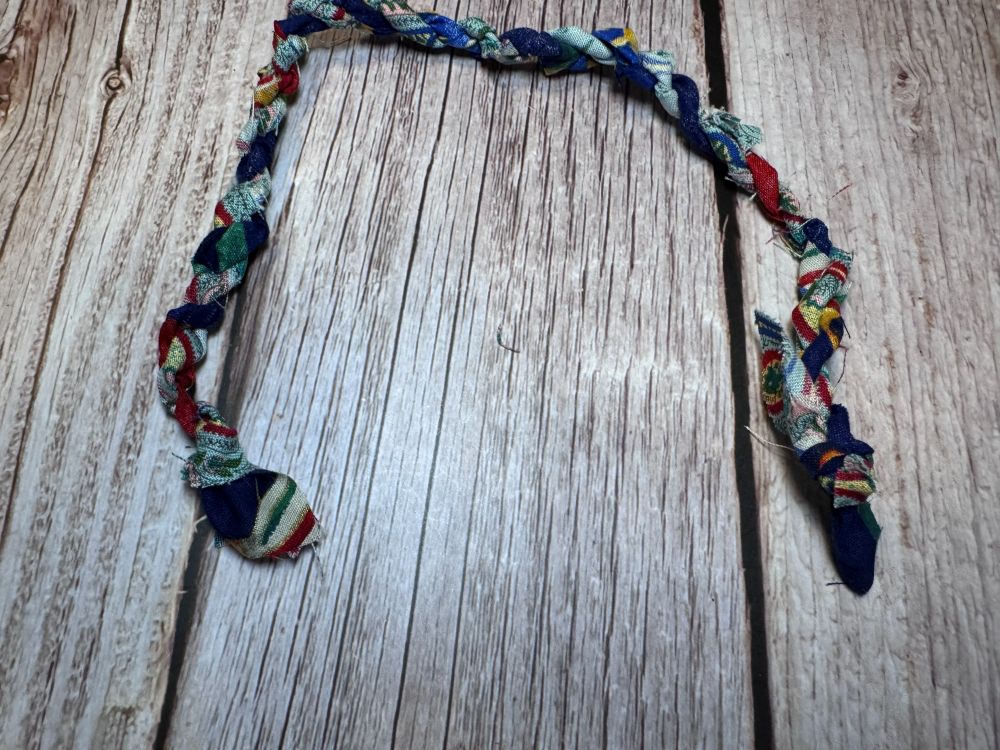
When your fabric twine is as long as you like, tie a double knot in the fabric ends and trim any excess.
What to Make with Fabric Twine
DIY fabric twine is lots of fun to make, but you might wonder what to do with it once you’ve made it. Here are a few ideas.
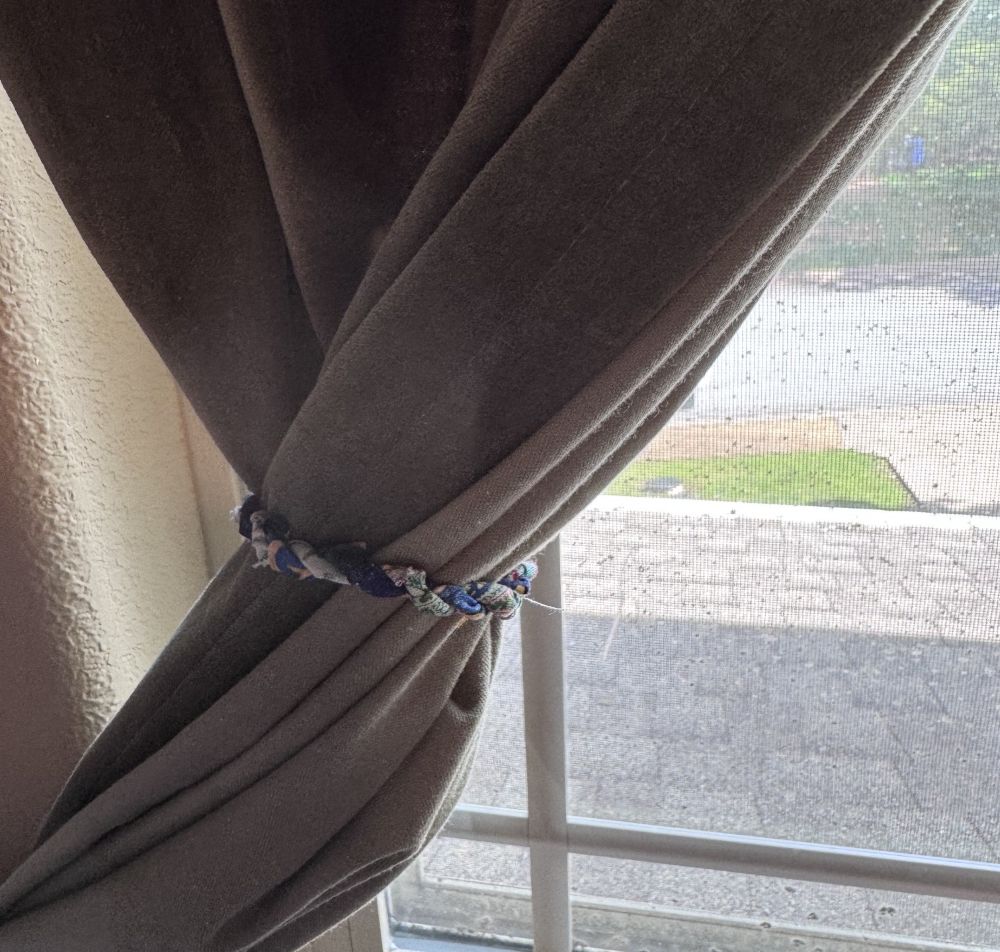
I’m using a small piece to tie back a curtain in my office.
Use it as a garland or the cord for a bunting.
Decorate gift boxes or bags.
Make a headband or bracelet.
Use as a strap for a bag.
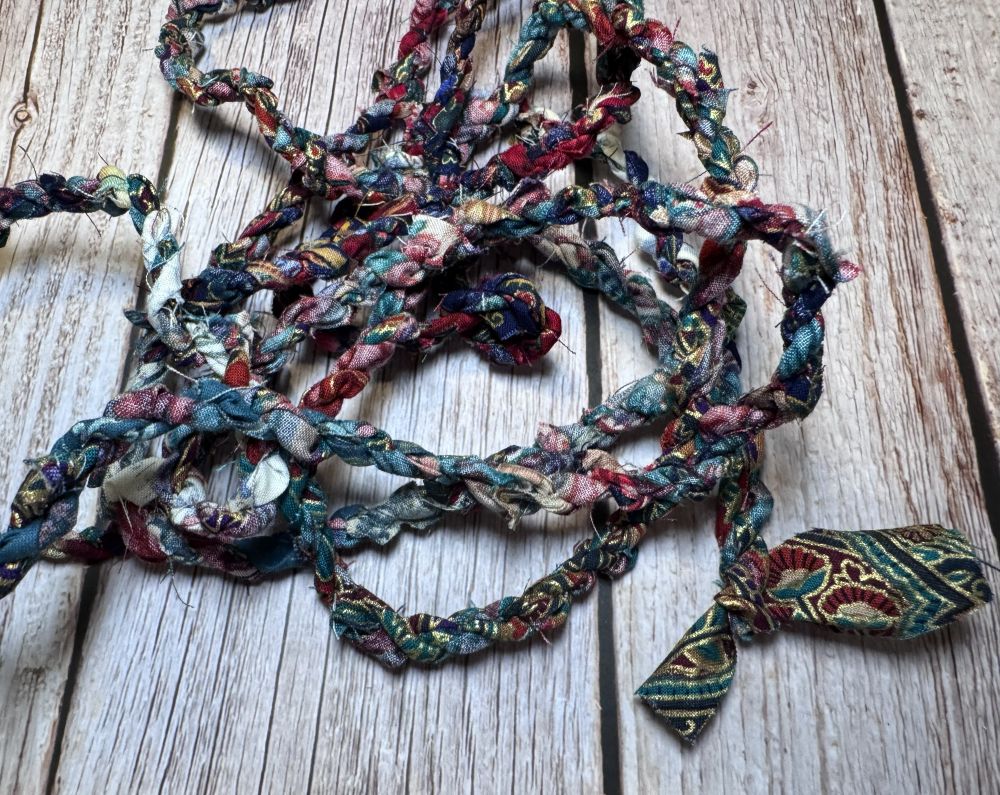
Wrap a pot with fabric twine to make a plastic pot more colorful.
Use fabric twine as you would fabric scraps to make a coiled basket or other projects. You can also knit, crochet, sew or weave with it.
And of course it’s just fun displayed on a spool or a piece of cardboard in your craft room.
If you’ve made fabric twine before I’d love to hear how you use it!